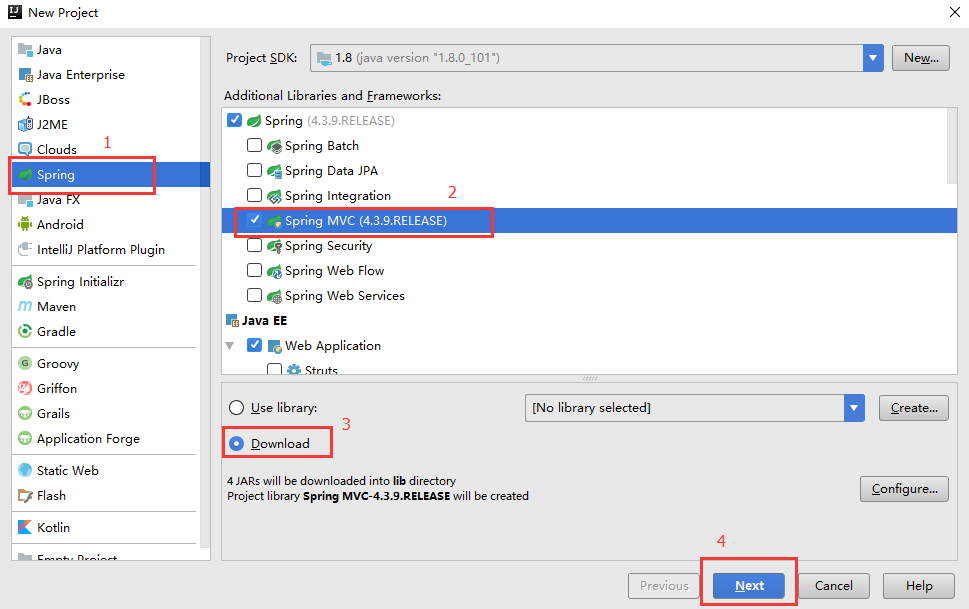
Select Spring → Tick SpringMVC → Select Download (let IDEA download the required JAR packages for us, which may be a bit slow)
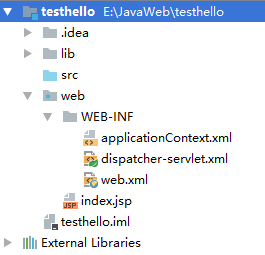
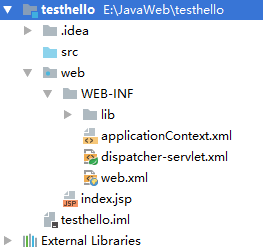
Generated project (left), move the lib folder under the WEB-INF folder (right)
Configuration File Settings
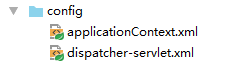
For easier management, I placed all SpringMVC configuration files in the config directory.

This file is at the same level as the src file. Modify it as follows:
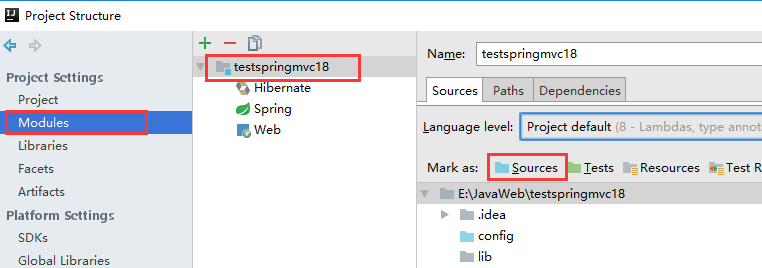
Open Project Settings (Ctrl+Shift+Alt+S) → Modules → (Project Name) → Select File (config) → Click Sources
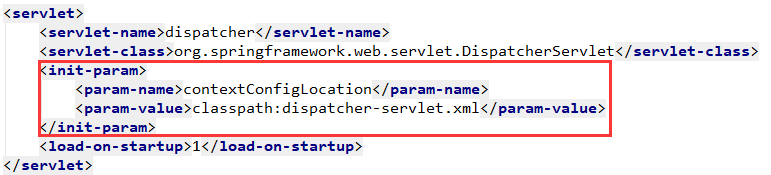
Since the configuration files were moved, reconfigure the file paths in web.xml.
applicationContext.xml

dispatcher-servlet.xml
The configuration file movement is complete; you can start working on the project.
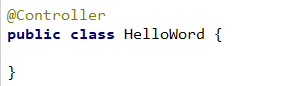
Controller Class
Add prefix and suffix for return paths in dispatcher-servlet.xml

Use the package scanning method to scan Controller classes

When defining a Controller class, simply add @Controller before the class.
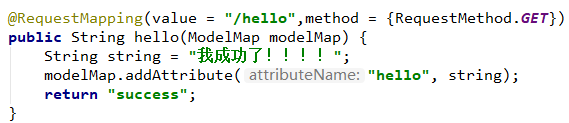
Method Definition
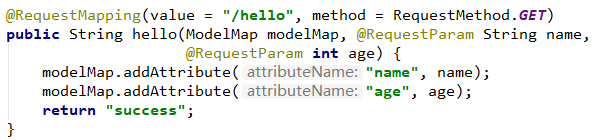
The value parameter of @RequestMapping specifies the path, and the method parameter specifies the access method (array or single value, e.g., RequestMethod.GET and RequestMethod.POST).
For the method (hello), use ModelMap as a parameter, similar to request.
Without the @ResponseBody annotation, the return value is a path. Combined with the prefix and suffix set in dispatcher-servlet.xml, it forms a complete JSP file path.
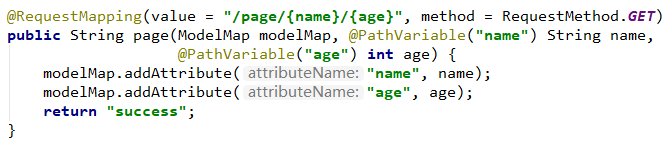
To obtain passed data via the path, use @PathVariable in the method parameters. For example, if the access path is: localhost:8080/page/王/21, you can get name=王 and age=21.
To pass data via key-value pairs (form), add @RequestParam to the corresponding parameter in the method. Parameters can be passed in the access path: localhost:8080/hello?name=王&age=21
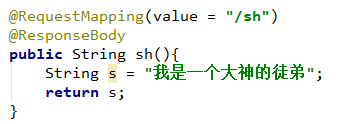
When @ResponseBody is added before a method, the return value is no longer a path but a string, which can be directly printed on the page.