1. Introduction
IntelliJ IDEA is an extremely powerful integrated development environment (IDE) that can essentially do anything. Its power significantly reduces our workload and enhances work efficiency. So, how does it develop Java web applications? Below, I will introduce developing Java web with IntelliJ IDEA.
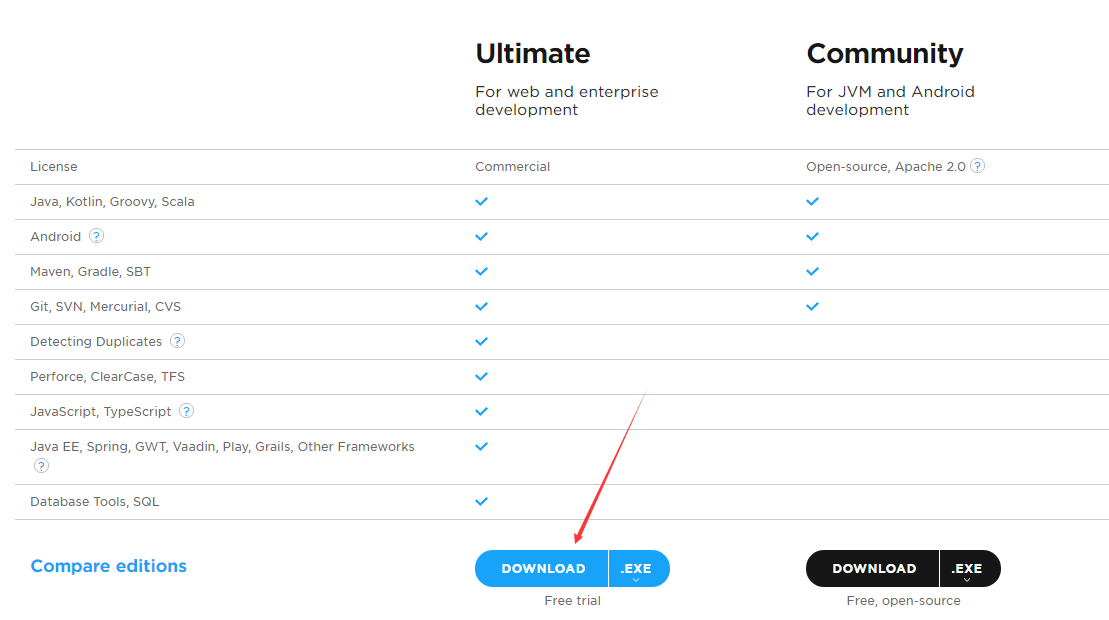
First, download the installation package from the official website: http://www.jetbrains.com/idea
There are two versions: Ultimate (paid) and Community (free). The author chose the Ultimate version.
2. Installation
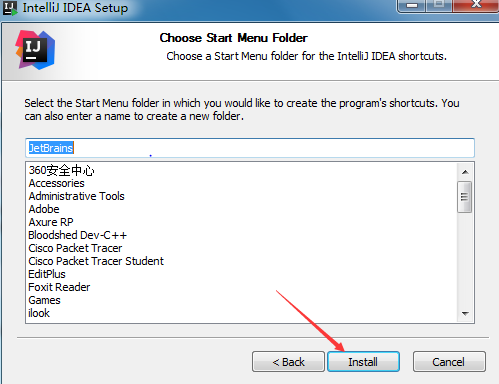
Simply download and start the installation.
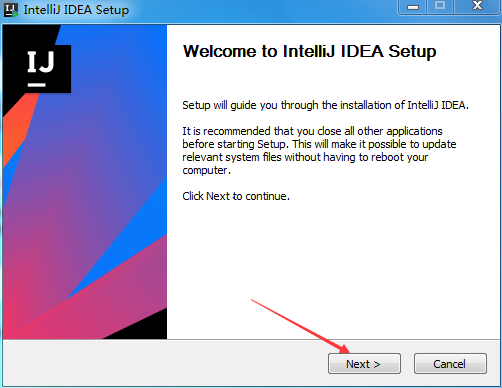
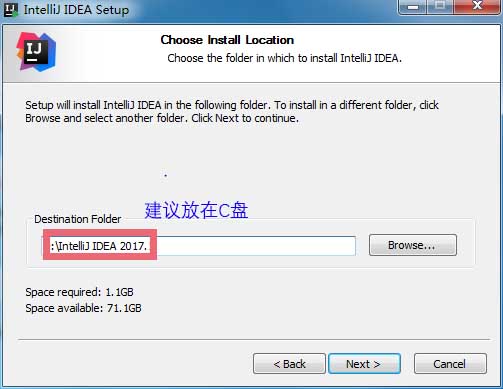
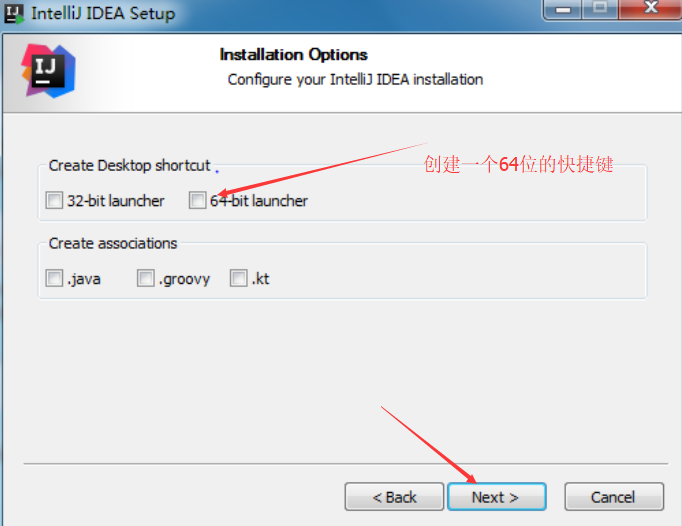
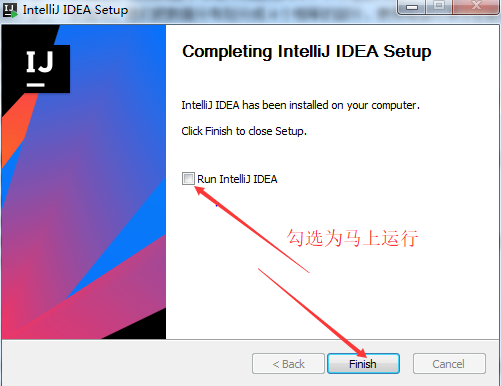
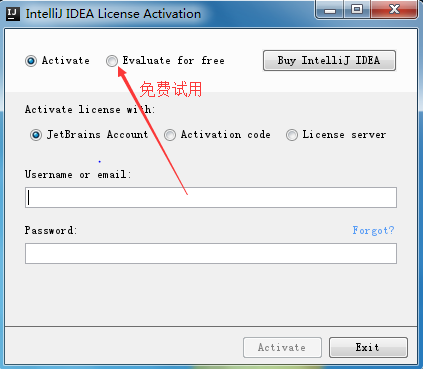
After installation, the first time you open it, a prompt will appear.
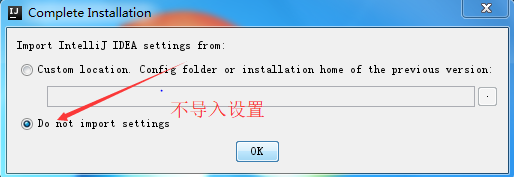
Then, for activation, we choose to try it out.
Now you can start developing.
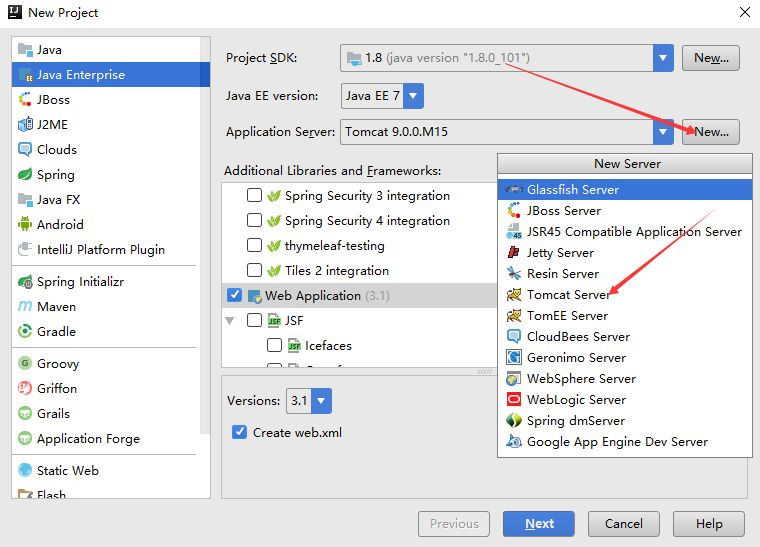
3. Developing a Java Web Project (JDK and Tomcat installation will not be covered here)
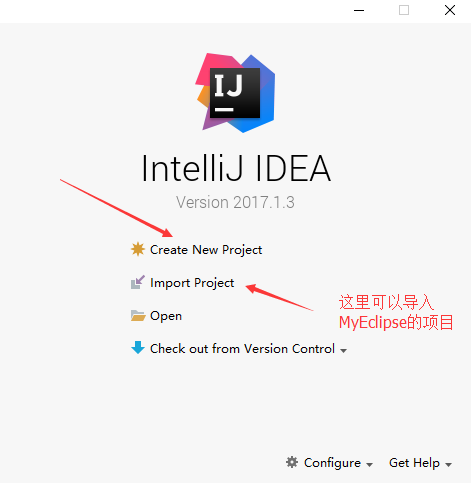
Start a new project.
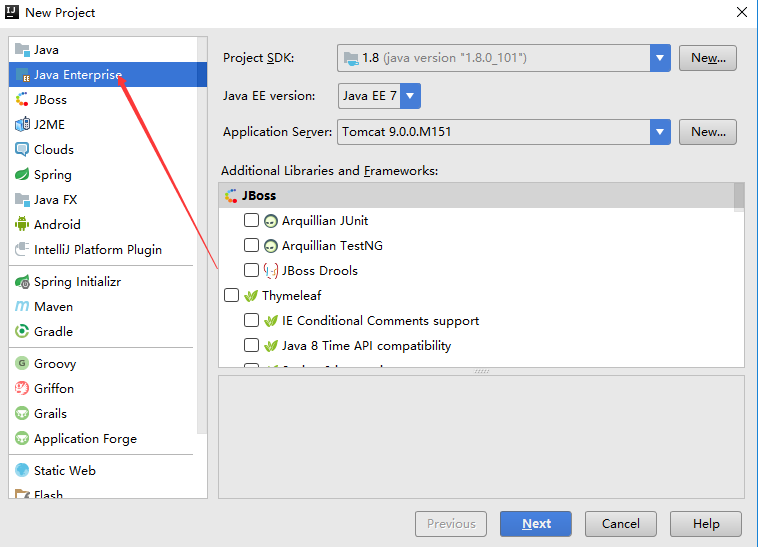
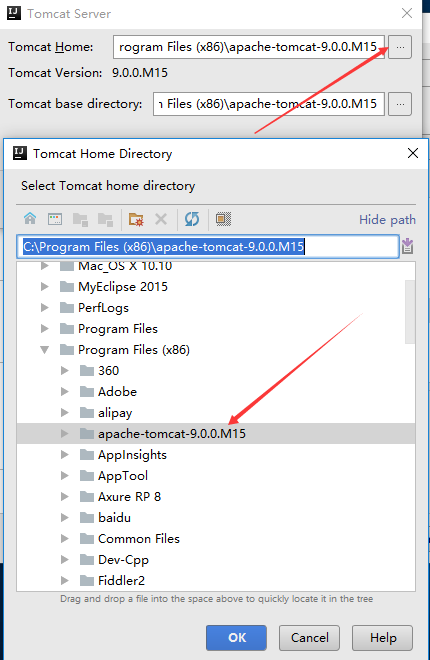
Follow my arrow selections. Remember to select the Tomcat server in “Application Server” and click “New” to specify the server path.
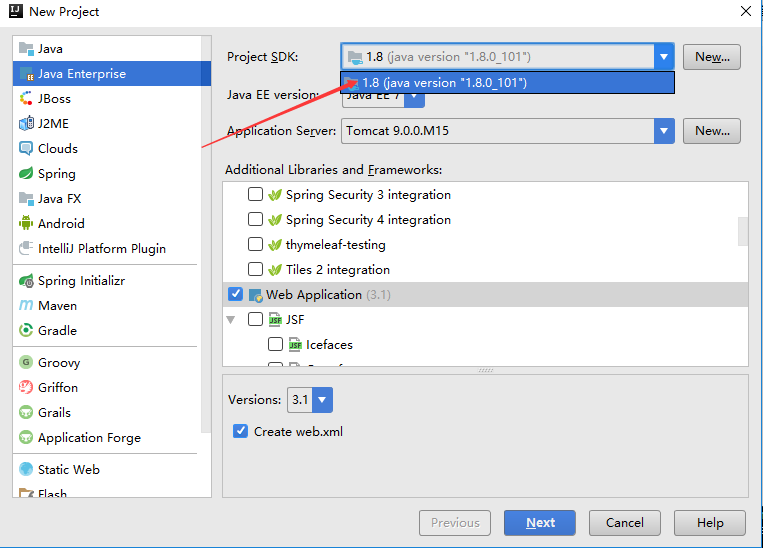
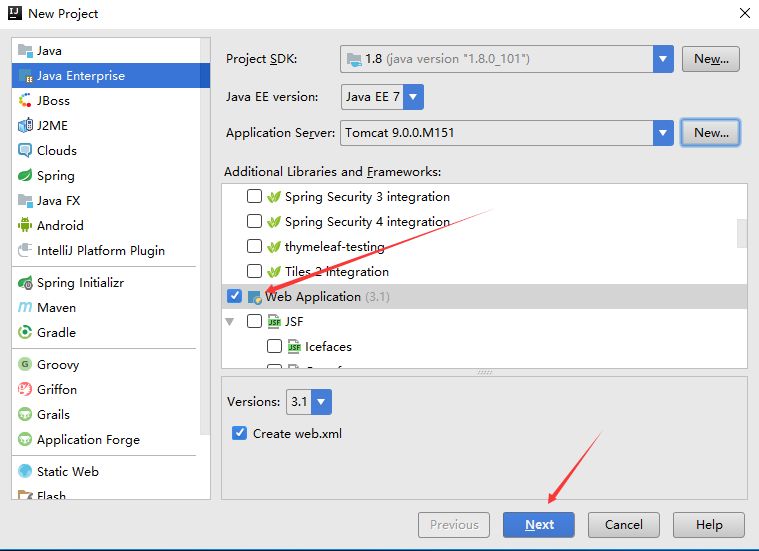
Proceed to the next step.
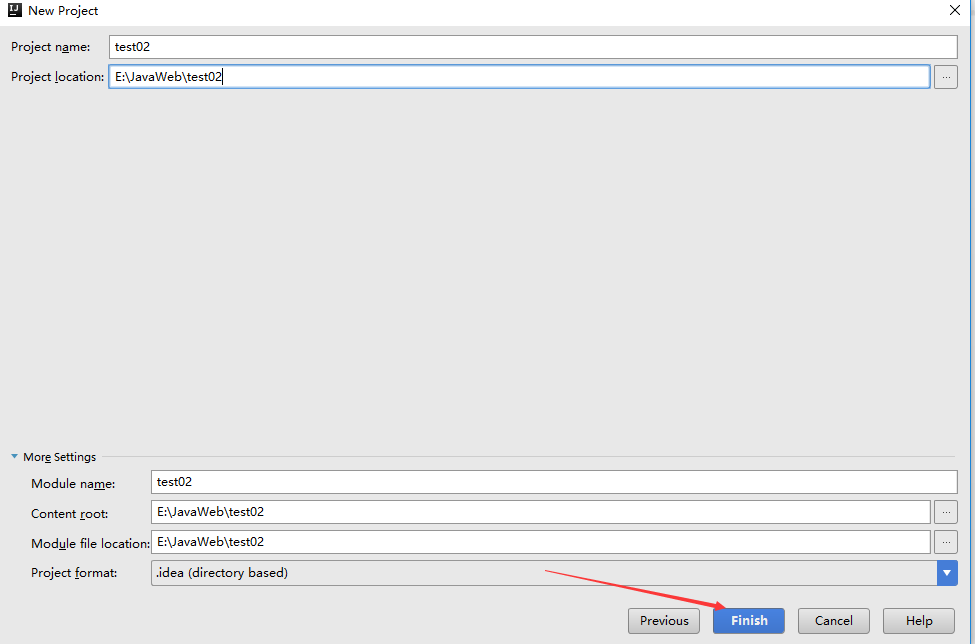
Click “Finish” to complete.
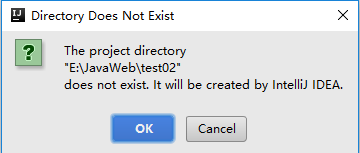
A prompt will appear asking to create a folder; click “OK”.
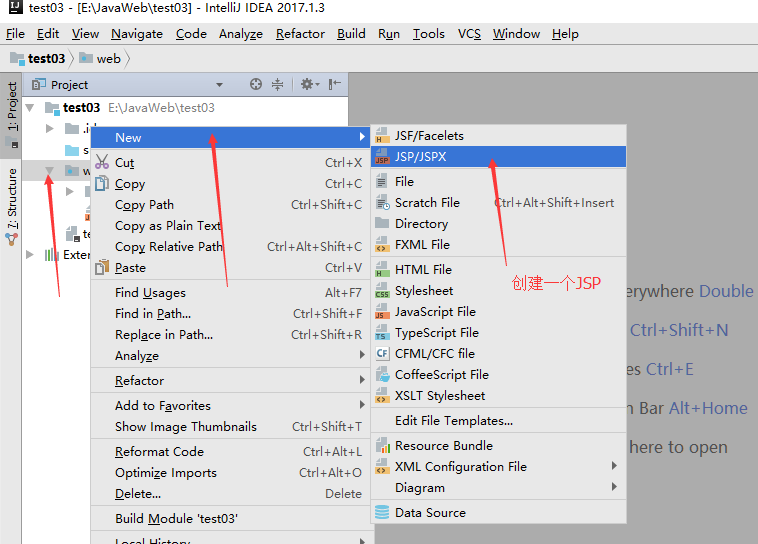
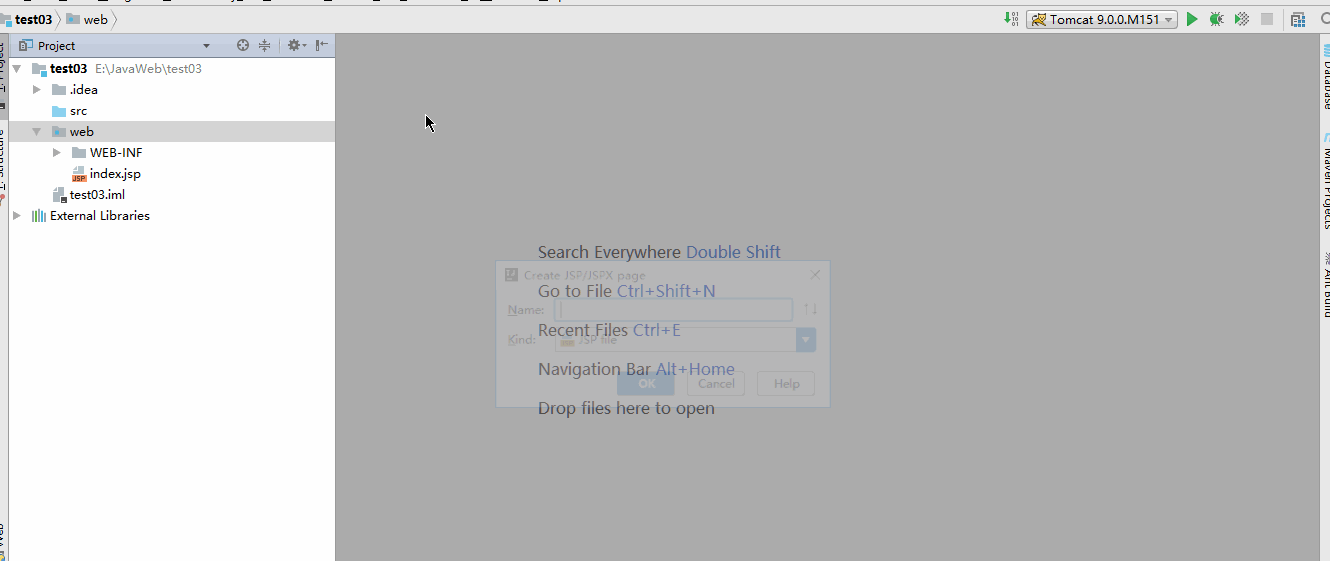
Create a JSP file.
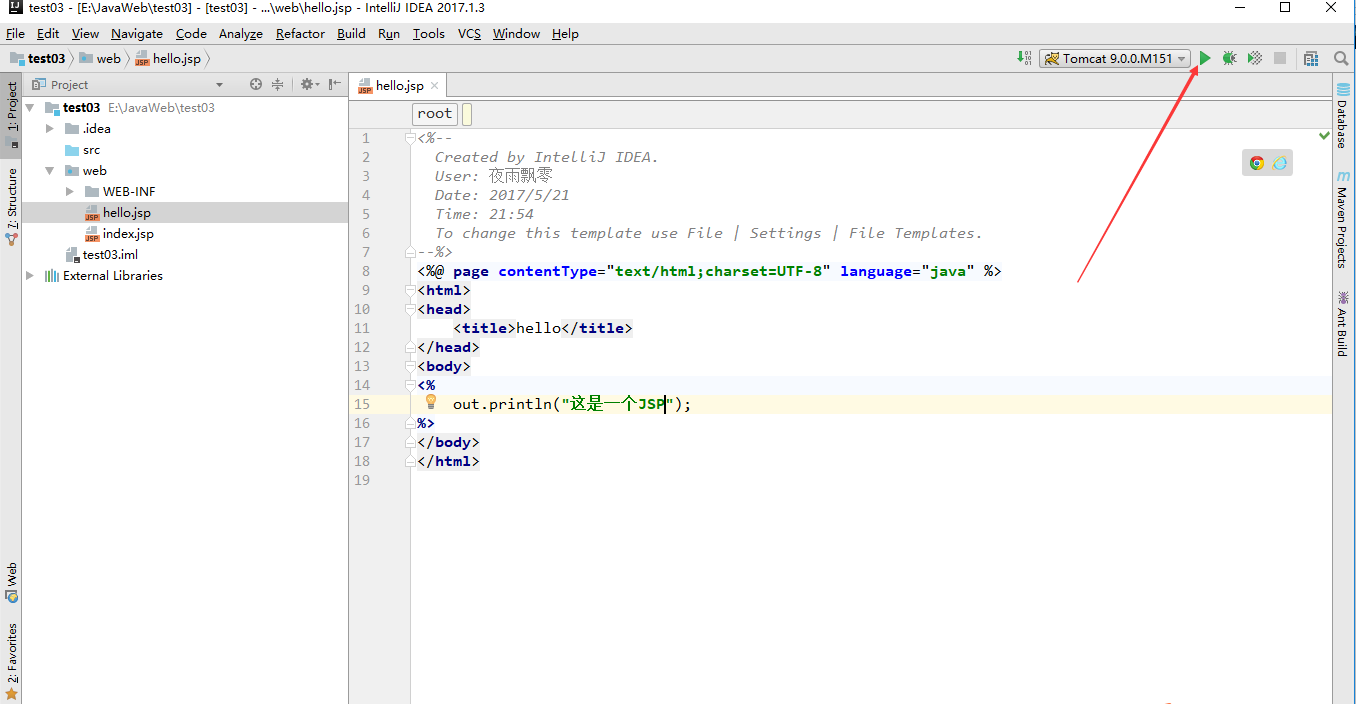
Run the Project
Click “Run”, and the browser will automatically open the homepage.
To open the previously created hello.jsp, simply click the browser icon; no need to manually type the path. It’s very convenient.


This concludes the introduction to developing Java web applications with IntelliJ IDEA.