Table of Contents
@[toc]
Introduction
Recently, I’ve been learning to set up a cloud service platform on CentOS, so I’m writing this article as my study notes and sharing it for everyone to learn together. Although we can’t replicate the powerful cloud service platforms like Baidu Cloud, Tencent Cloud, or Alibaba Cloud, we can learn their concepts and build a simple cloud platform for our team or company.
Creating the Host
The structure of our cloud server platform is as follows:
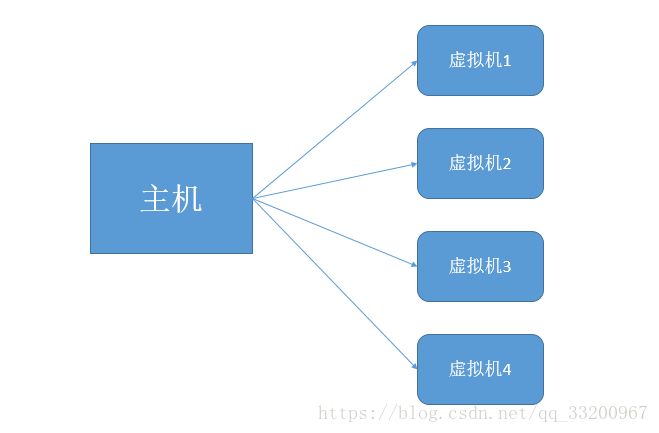
This platform consists of a main physical machine with multiple virtual machines created for user use. Therefore, we first need a host. Theoretically, this host is a real physical machine with abundant physical resources such as memory, disk, and CPU. For learning purposes, we’ll create a machine in VMware as our host, using CentOS 6.5 as the operating system.
First, download the CentOS 6.5 minimal ISO image. The image I used is CentOS-6.5-x86_64-minimal.iso, available at: http://vault.centos.org/6.5/isos/x86_64/CentOS-6.5-x86_64-minimal.iso.
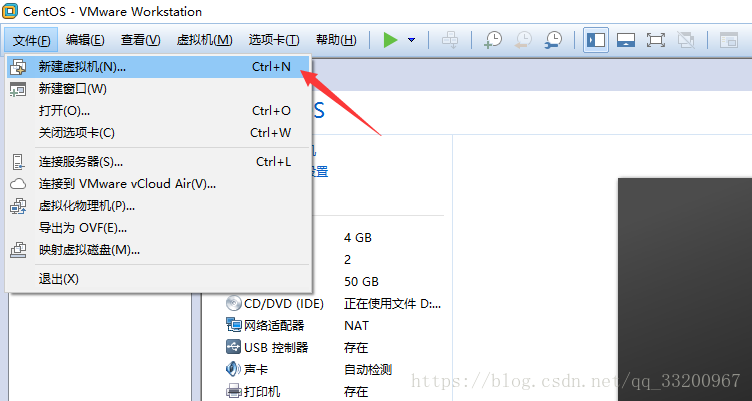
Create a new virtual machine in VMware with the following steps:
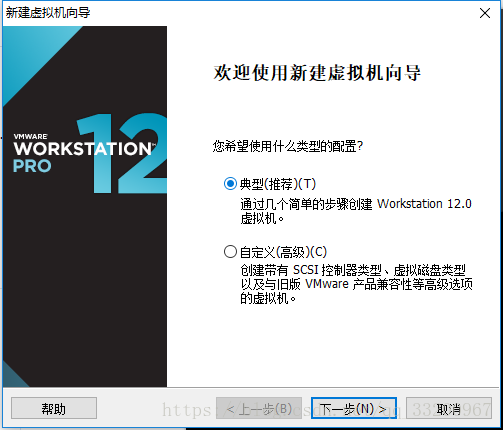
Select the “Custom” (Classic) option to start creation:
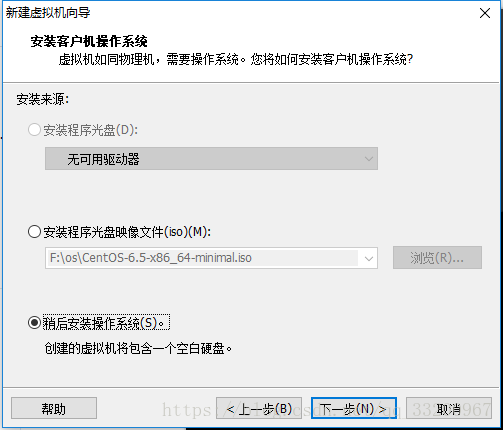
Choose “Install later” (third option):
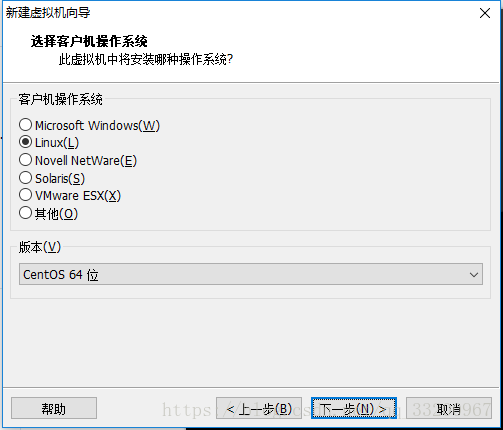
Select “Linux” as the operating system type, specifically CentOS 64-bit:
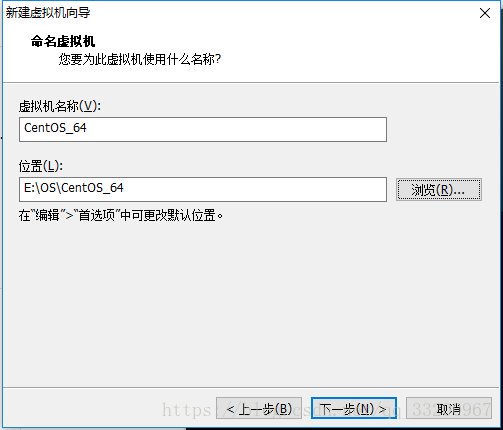
Name the virtual machine and set the disk location:
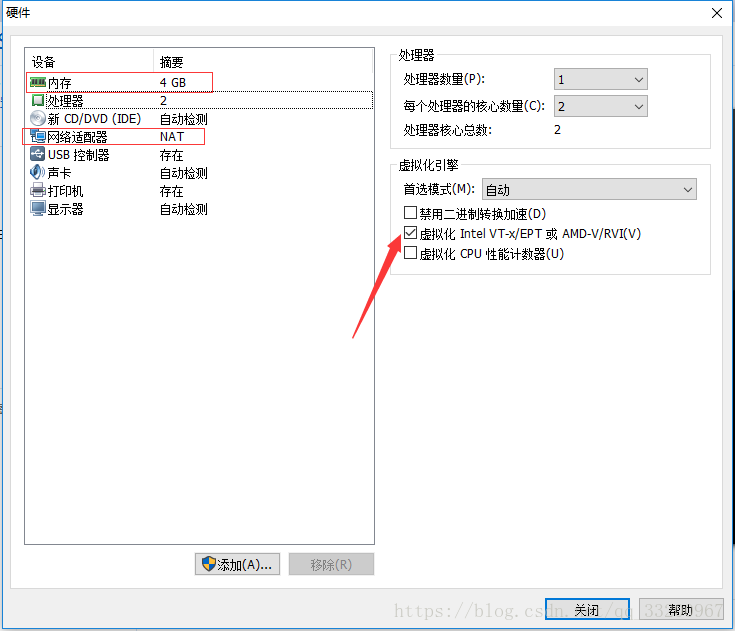
This step involves hardware configuration. Before proceeding, adjust the hardware settings:

Allocate as much memory and CPU cores as possible without exceeding the physical machine’s capacity. The default NAT network is fine and doesn’t need modification:
Finally, select the previously downloaded CentOS ISO image:

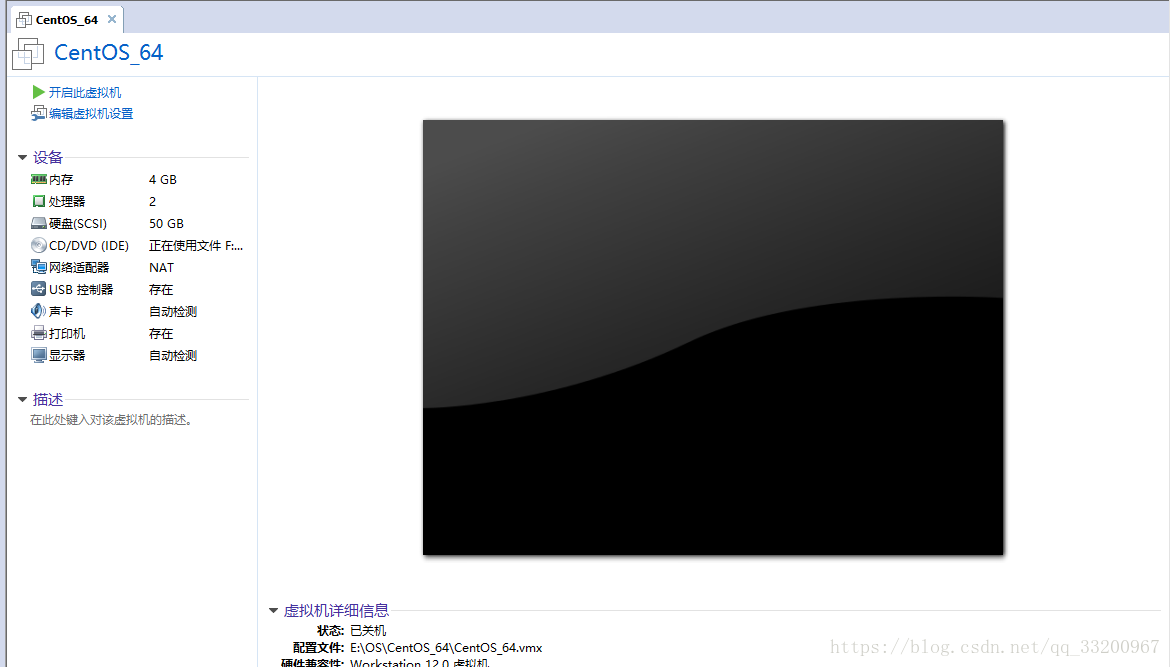
After confirming, click “Finish” to return to the main interface and start the virtual machine:

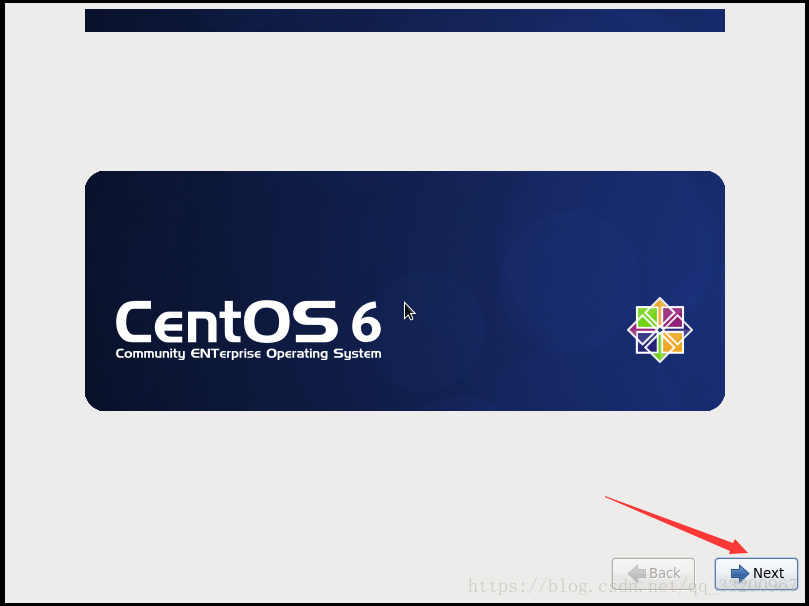
Start the virtual machine and select the first option to begin the installation:
Press Ctrl+Alt to release the mouse from the virtual machine. Select “Skip” for the installation source check:

Proceed with the default settings:
Select the system language (e.g., Chinese):

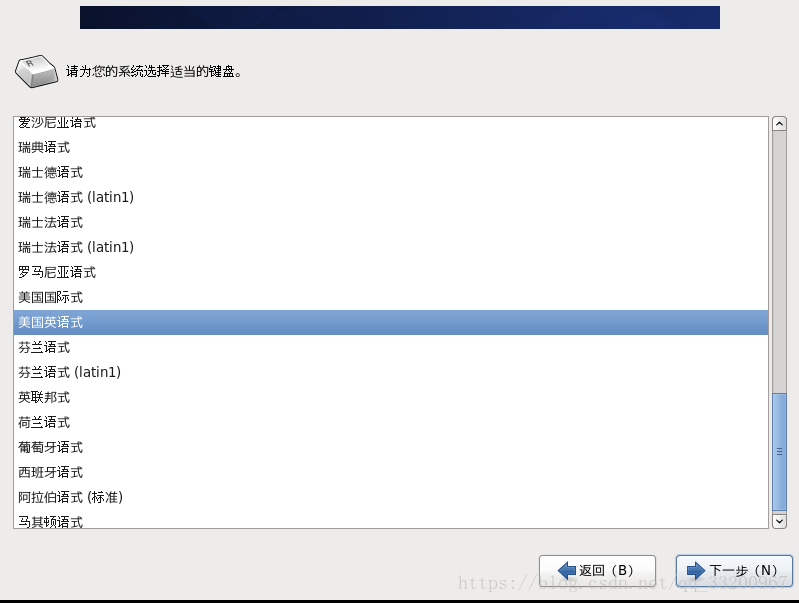
Keep the default keyboard layout:
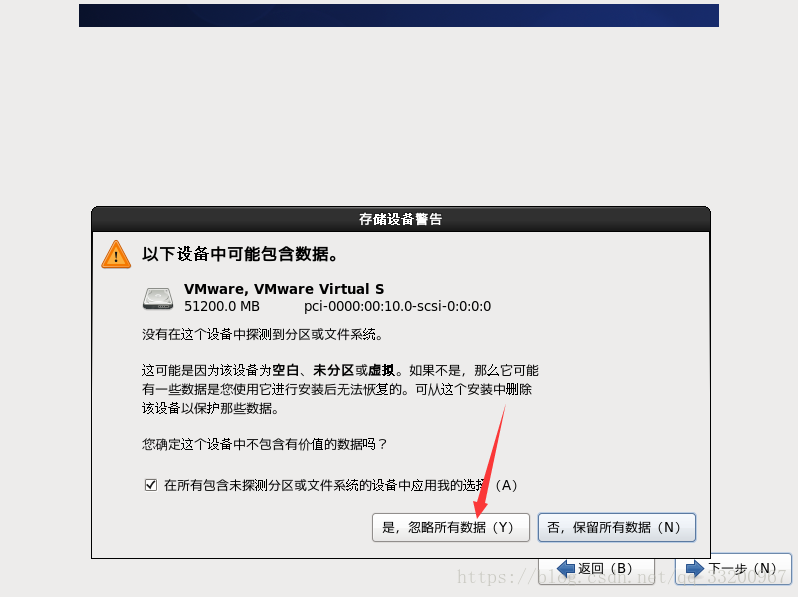
Ignore existing data (since the virtual disk is new):
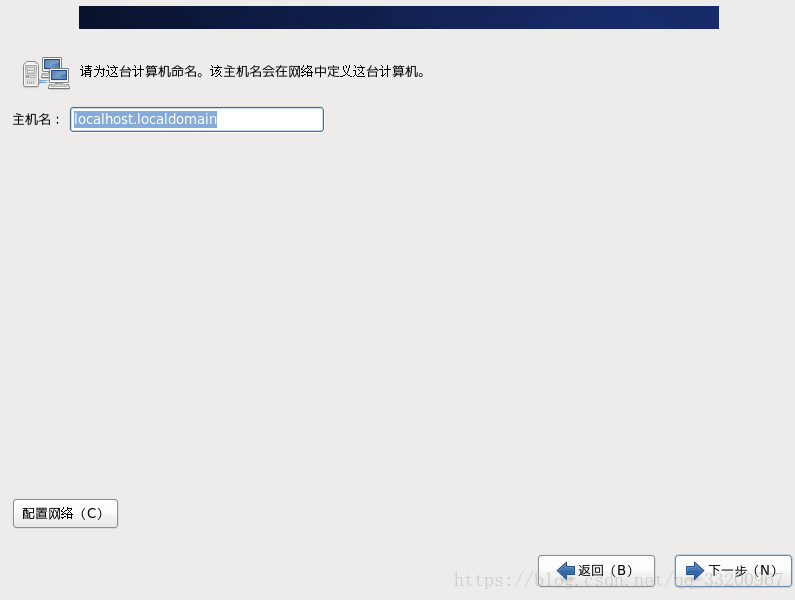
Keep the default hostname or set it manually:
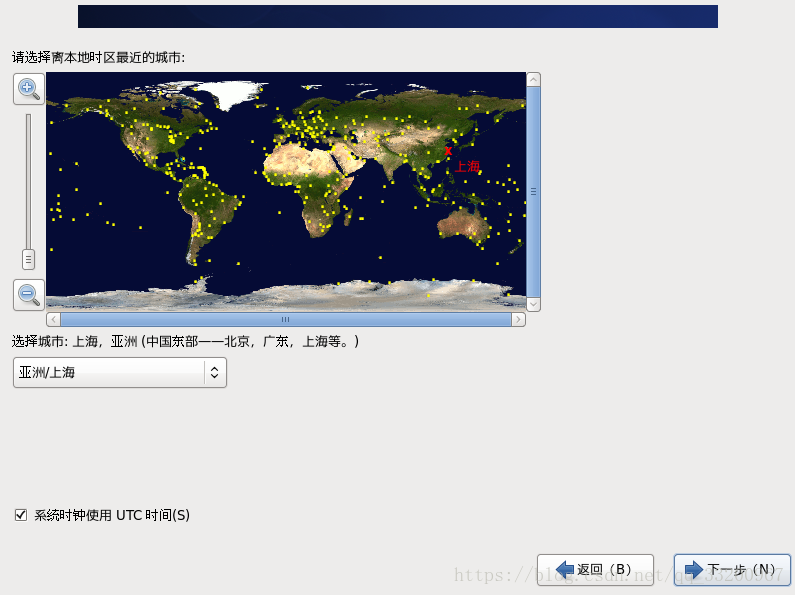
Set the time zone:
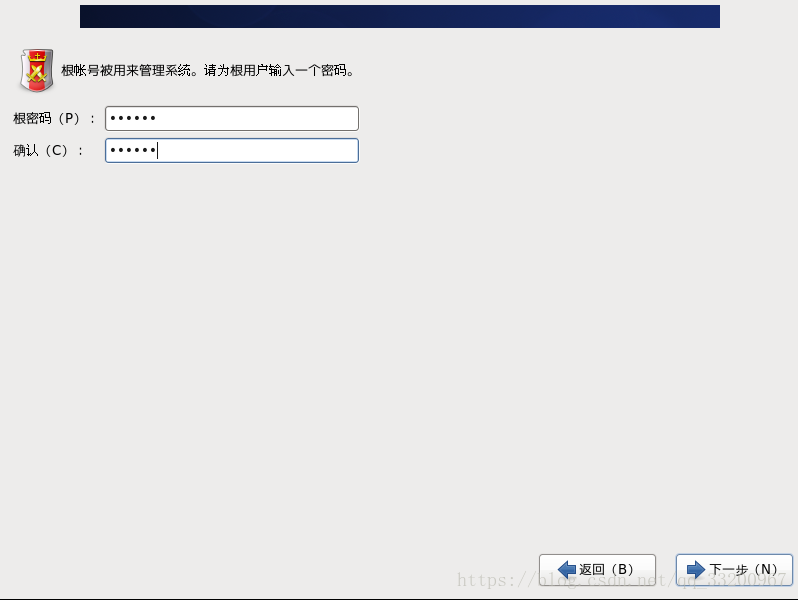
Create a system password (minimum 6 characters):
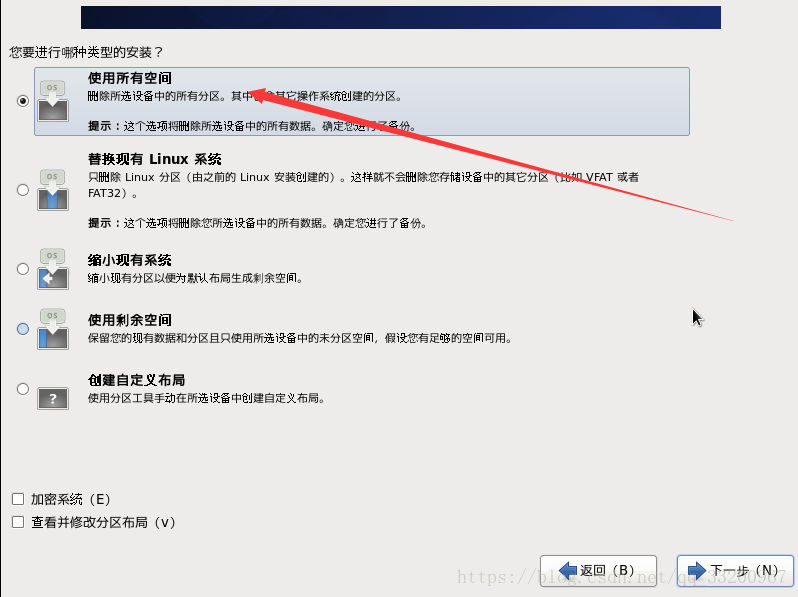
Select “Use All Space” to allocate the entire disk and start the installation:
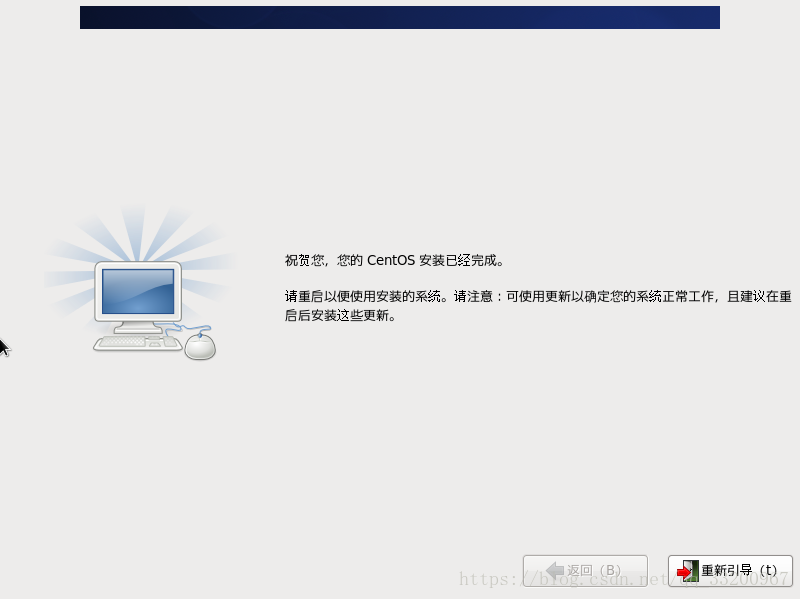
Wait for the installation to complete:
Configuring Host Network
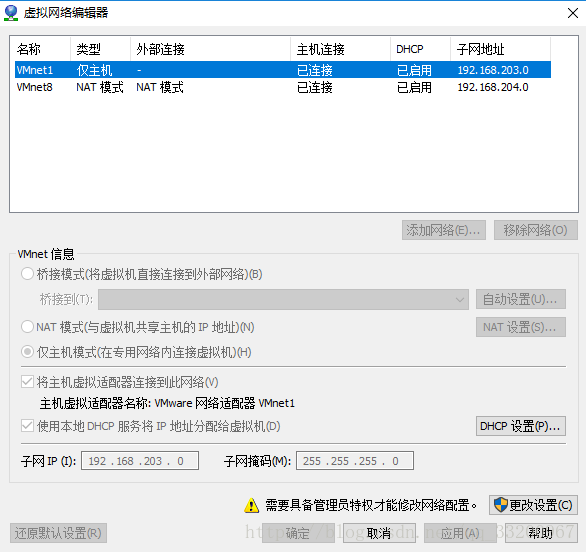
After installation, the network may not be active. First, check the VMware VMnet8 subnet:
The subnet is typically 192.168.204.0:
Edit the network configuration file:
vi /etc/sysconfig/network-scripts/ifcfg-eth0
Modify the file to enable the interface, set static IP, and add network parameters:
ONBOOT=yes
BOOTPROTO=static
IPADDR=192.168.204.100
NETMASK=255.255.255.0
GATEWAY=192.168.204.1
DNS1=8.8.8.8
(Adjust IP, subnet, and gateway to match your VMware setup)
Restart the network service:
service network restart
Test connectivity with:
ping www.baidu.com
Installing Required Environment
Using Xshell
For easier management, use Xshell to connect to CentOS. Download Xshell from: https://www.netsarang.com/download/down_form.html?code=622&downloadType=0&licenseType=1.
Create a new connection in Xshell, enter the CentOS IP, and log in with the username/password.
Configuring Mirror Source
Replace the default CentOS repo with Alibaba Cloud’s for faster downloads:
- Backup the original repo:
mv /etc/yum.repos.d/CentOS-Base.repo /etc/yum.repos.d/CentOS-Base.repo.backup
- Install wget:
yum -y install wget
- Download Alibaba’s repo:
wget -O /etc/yum.repos.d/CentOS-Base.repo http://mirrors.aliyun.com/repo/Centos-6.repo
- Generate cache:
yum makecache
Installing KVM Dependencies
Install KVM-related packages:
yum -y install qemu-kvm virt-manager libvirt libvirt-python python-virtinst bridge-utils
Start the libvirtd service:
service libvirtd restart
Stop the firewall for VM communication:
service iptables stop
Create a directory for VM images:
mkdir /kvmtest
Install lrzsz for file transfer:
yum -y install lrzsz
Upload the CentOS ISO to /kvmtest:
cd /kvmtest
rz  # Select the ISO file when prompted
Installing Virtual Machines
Creating a Virtual Disk
Create a 10GB qcow2 disk image:
qemu-img create -f qcow2 /kvmtest/centos-6.5.qcow2 10G
Creating a VM with virt-install
virt-install --virt-type kvm --name centos-6.5 --ram 1024 \
--vcpus 1 \
--cdrom=/kvmtest/CentOS-6.5-x86_64-minimal.iso \
--disk /kvmtest/centos-6.5.qcow2,format=qcow2 \
--network network=default \
--graphics vnc,listen=0.0.0.0 --noautoconsole \
--os-type=linux --os-variant=rhel6
Connecting via VNC
After starting the VM, use a VNC client to connect to the host’s IP and port (default: 5900). Install VNC Viewer from https://www.realvnc.com/en/connect/download/vnc/.
During installation, the process is similar to the initial host installation. After completion, start the VM with:
virsh start centos-6.5
Configuring VM Network
Edit the VM’s network config file:
vi /etc/sysconfig/network-scripts/ifcfg-eth0
Remove MACADDR and UUID, set ONBOOT=yes, and ensure:
DEVICE=eth0
TYPE=Ethernet
ONBOOT=yes
BOOTPROTO=static
IPADDR=192.168.204.101
NETMASK=255.255.255.0
GATEWAY=192.168.204.1
DNS1=8.8.8.8
Restart the network:
service network restart
Test connectivity:
ping www.baidu.com
Enabling ACPI for VM Shutdown
To allow host-initiated shutdowns:
yum install acpid
service acpid start
chkconfig acpid on
Cloning VMs
To quickly create multiple identical VMs:
- Clone the disk image:
cp /kvmtest/centos-6.5.qcow2 /kvmtest/centos-6.5-2.qcow2
- Clone the VM config:
cp /etc/libvirt/qemu/centos-6.5.xml /etc/libvirt/qemu/centos-6.5-2.xml
-
Edit the new config file (
centos-6.5-2.xml):
- Change<name>tocentos-6.5-2
- Update<source file>to the new qcow2 path
- Remove<mac address>and<uuid> -
Create the VM:
virsh define /etc/libvirt/qemu/centos-6.5-2.xml
virsh start centos-6.5-2
- Fix network rules:
rm -rf /etc/udev/rules.d/70-persistent-net.rules
service network restart
Network Bridging
To allow direct external access to VMs, configure bridge networking:
Host Bridge Configuration
- Create a bridge interface (br100):
cd /etc/sysconfig/network-scripts/
cp ifcfg-eth0 ifcfg-br100
- Edit
ifcfg-eth0:
DEVICE=eth0
TYPE=Ethernet
ONBOOT=yes
BRIDGE=br100
BOOTPROTO=none
- Edit
ifcfg-br100:
DEVICE=br100
TYPE=Bridge
ONBOOT=yes
BOOTPROTO=static
IPADDR=192.168.171.127
NETMASK=255.255.255.0
GATEWAY=192.168.171.2
DNS1=8.8.8.8
- Restart network:
service network restart
VM Bridge Configuration
- Edit the VM’s network config:
virsh edit centos-6.5
- Update the interface section:
<interface type='bridge'>
  <source bridge='br100'/>
  <model type='virtio'/>
</interface>
- Start the VM and clear network rules:
virsh start centos-6.5
rm -rf /etc/udev/rules.d/70-persistent-net.rules
init 6  # Reboot VM
- Verify connectivity:
ifconfig
ping www.baidu.com
Security Note
To open specific ports (e.g., MySQL 3306) without disabling the firewall:
vim /etc/sysconfig/iptables
# Add: -A INPUT -m state --state NEW -m tcp -p tcp --dport 3306 -j ACCEPT
service iptables restart
Reference
- Alibaba Cloud Mirror: https://opsx.alibaba.com/mirror