Original blog: Doi Tech Team
Link: https://blog.doiduoyi.com/authors/1584446358138
Original intention: Record the excellent learning experiences of the Doi Tech Team
*This article is based on PaddlePaddle 0.11.0 and Python 2.7
Introduction
Before reading this article, you should read the previous article Object Detection Implementation Using VOC Dataset, as most of the code and dataset formats used in this article are derived from the previous one. This article introduces how to perform object detection using a custom image dataset.
Dataset Introduction
The dataset we use this time is natural scene license plates. Do you remember how license plates were cropped in the article End-to-End Recognition of License Plates? We used OpenCV for multiple image processing steps to achieve license plate localization, but the localization effect was poor. In this article, we attempt to use a neural network for license plate localization.
Download License Plates
First, we download license plate data from the internet for training. The core code snippet is as follows:
def start_download(self):
    self.download_sum = 0
    gsm = 80
    str_gsm = str(gsm)
    pn = 0
    if not os.path.exists(self.save_path):
        os.makedirs(self.save_path)
    while self.download_sum < self.download_max:
        str_pn = str(self.download_sum)
        url = 'http://image.baidu.com/search/flip?tn=baiduimage&ie=utf-8&' \
              'word=' + self.key_word + '&pn=' + str_pn + '&gsm=' + str_gsm + '&ct=&ic=0&lm=-1&width=0&height=0'
        print url
        result = requests.get(url)
        self.downloadImages(result.text)
    print 'Download completed'
Rename Images
Downloaded images are stored in data/plate_number/images/. Some downloaded data may not be license plates, so we need to delete those. To make the dataset compatible with the VOC format, we rename the images with a six-digit number naming convention:
# coding=utf-8
import os

def rename(images_dir):
    # Get all images
    images = os.listdir(images_dir)
    i = 1
    for image in images:
        src_name = images_dir + image
        # Name with six-digit numbers (VOC dataset format)
        name = '%06d.jpg' % i
        dst_name = images_dir + name
        os.rename(src_name, dst_name)
        i += 1
    print 'Renaming completed'

if __name__ == '__main__':
    # Path to the directory containing images to be renamed
    images_dir = '../data/plate_number/images/'
    rename(images_dir)
Annotate the Dataset
We have image data and renamed them, but we still need annotation information. In the VOC dataset, annotations are stored in XML files with the same name as the image (excluding the suffix). We use LabelImg to create these annotation files.
Install LabelImg
Installation on Ubuntu 16.04 is straightforward with the following commands:
# Get root privileges
sudo su
# Install dependencies
apt-get install pyqt4-dev-tools
pip install lxml
# Install LabelImg
pip install labelImg
# Exit root privileges
exit
# Run LabelImg
labelImg
Use LabelImg
After running the program, the interface appears as follows:
Click Open Dir to select the image directory data/plate_number/images/, and the program will display the images:
Before annotating, set the save directory for annotation files by clicking Change Save Dir and selecting data/plate_number/annotation/. Then click Create RectBox to mark the license plate and label it plate_number. Finally, save the annotation by clicking Save, which will generate an XML file named after the image. Repeat for other images.
The annotation XML file should look like this (compatible with VOC format):
<annotation>
    <folder>images</folder>
    <filename>000001.jpg</filename>
    <path>/home/yeyupiaoling/data/plate_number/images/000001.jpg</path>
    <source>
        <database>Unknown</database>
    </source>
    <size>
        <width>750</width>
        <height>562</height>
        <depth>3</depth>
    </size>
    <segmented>0</segmented>
    <object>
        <name>plate_number</name>
        <pose>Unspecified</pose>
        <truncated>0</truncated>
        <difficult>0</difficult>
        <bndbox>
            <xmin>225</xmin>
            <ymin>298</ymin>
            <xmax>560</xmax>
            <ymax>405</ymax>
        </bndbox>
    </object>
</annotation>
Generate Image Lists
We need two image lists: trainval.txt (training) and test.txt (testing). Due to different dataset structures, we need a new program to generate these lists.
First, read all images and their corresponding annotations:
for images in all_images:
    trainval = []
    test = []
    if data_num % 10 == 0:
        # Use every 10th image as test set
        name = images.split('.')[0]
        annotation = os.path.join(annotation_path, name + '.xml')
        if not os.path.exists(annotation):
            continue
        test.append(os.path.join(images_path, images))
        test.append(annotation)
        test_list.append(test)
    else:
        # Use remaining images as training set
        name = images.split('.')[0]
        annotation = os.path.join(annotation_path, name + '.xml')
        if not os.path.exists(annotation):
            continue
        trainval.append(os.path.join(images_path, images))
        trainval.append(annotation)
        trainval_list.append(trainval)
    data_num += 1
Shuffle the training data and save to files:
# Shuffle training data
random.shuffle(trainval_list)
# Save training list
with open(os.path.join(output_dir, 'trainval.txt'), 'w') as ftrainval:
    for item in trainval_list:
        ftrainval.write(item[0] + ' ' + item[1] + '\n')
# Save test list
with open(os.path.join(output_dir, 'test.txt'), 'w') as ftest:
    for item in test_list:
        ftest.write(item[0] + ' ' + item[1] + '\n')
Train the Model
With image data, annotations, and image lists, we can start training. Before training, modify the configuration file pascal_voc_conf.py to set the number of classes to 2 (license plate + background):
# Number of image classes
__C.CLASS_NUM = 2
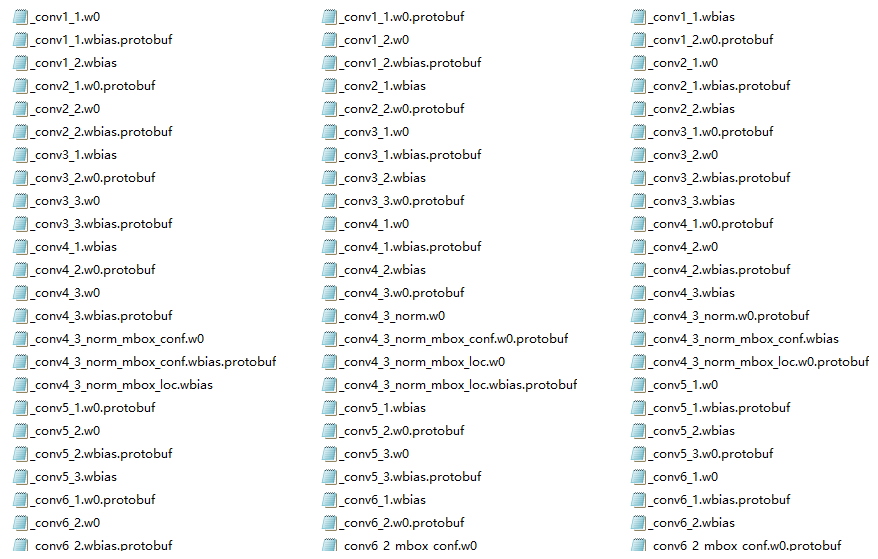
Pre-trained Model Handling
Direct training may cause floating-point errors. We use a pre-trained model (download from official pre-trained model). Remove files containing “mbox” to adapt to our class count:
Start Training
Training uses 2 GPUs (requires CUDA environment). train_file_list is the training list, dev_file_list is the test list, and init_model_path is the pre-trained model:
if __name__ == "__main__":
    # Initialize PaddlePaddle
    paddle.init(use_gpu=True, trainer_count=2)
    # Set data parameters
    data_args = data_provider.Settings(
        data_dir='../data',
        label_file='../data/label_list',
        resize_h=cfg.IMG_HEIGHT,
        resize_w=cfg.IMG_WIDTH,
        mean_value=[104, 117, 124])
    # Start training
    train(
        train_file_list='../data/trainval.txt',
        dev_file_list='../data/test.txt',
        data_args=data_args,
        init_model_path='../models/vgg_model.tar.gz')
Sample training logs:
Pass 0, Batch 0, TrainCost 16.567970, Detection mAP=0.014627
......
Test with Pass 0, TestCost: 8.723172, Detection mAP=0.00609719

Pass 1, Batch 0, TrainCost 7.185760, Detection mAP=0.239866
......
Test with Pass 1, TestCost: 6.301503, Detection mAP=60.357

Pass 2, Batch 0, TrainCost 6.052617, Detection mAP=32.094097
......
Test with Pass 2, TestCost: 5.375503, Detection mAP=48.9882
Evaluate the Model
To evaluate the trained model, use the test dataset:
if __name__ == "__main__":
    paddle.init(use_gpu=True, trainer_count=2)
    # Set data parameters
    data_args = data_provider.Settings(
        data_dir='../data',
        label_file='../data/label_list',
        resize_h=cfg.IMG_HEIGHT,
        resize_w=cfg.IMG_WIDTH,
        mean_value=[104, 117, 124])
    # Start evaluation
    eval(eval_file_list='../data/test.txt',
         batch_size=4,
         data_args=data_args,
         model_path='../models/params_pass.tar.gz')
Sample evaluation output:
TestCost: 1.813083, Detection mAP=90.5595
Predict Data
Get Prediction Data
Download test images and place them in images/infer/, with paths listed in images/infer.txt:
infer/000001.jpg
infer/000002.jpg
infer/000003.jpg
infer/000004.jpg
infer/000005.jpg
infer/000006.jpg
Get Prediction Results
Use the prediction function to generate results saved in images/infer.res:
if __name__ == "__main__":
    paddle.init(use_gpu=True, trainer_count=2)
    # Set data parameters
    data_args = data_provider.Settings(
        data_dir='../images',
        label_file='../data/label_list',
        resize_h=cfg.IMG_HEIGHT,
        resize_w=cfg.IMG_WIDTH,
        mean_value=[104, 117, 124])
    # Start prediction (batch_size=1 to avoid data loss)
    infer(
        eval_file_list='../images/infer.txt',
        save_path='../images/infer.res',
        data_args=data_args,
        batch_size=1,
        model_path='../models/params_pass.tar.gz',
        threshold=0.3)
Prediction results format: Image Path Label Score xmin ymin xmax ymax
infer/000001.jpg        0       0.9999114       357.44736313819885 521.2164137363434 750.5996704101562 648.5584638118744
infer/000002.jpg        0       0.9970805       102.86840772628784 94.18213963508606 291.60091638565063 155.58562874794006
...
Display Prediction Results
Use OpenCV to draw bounding boxes on images:
# Read images
for img_path in all_img_paht:
    im = cv2.imread('../images/' + img_path)
    # Draw boxes for each prediction
    for label_1 in all_labels:
        label_img_path = label_1[0]
        if img_path == label_img_path:
            xmin, ymin, xmax, ymax = label_1[3].split(' ')
            xmin = float(xmin)
            ymin = float(ymin)
            xmax = float(xmax)
            ymax = float(ymax)
            cv2.rectangle(im, (int(xmin), int(ymin)), (int(xmax), int(ymax)), (0, 255, 0), 3)
    # Save annotated images
    names = img_path.strip().split('/')
    name = names[len(names)-1]
    cv2.imwrite('../images/result/%s' % name, im)
Run the main function to save annotated images to images/result/:
if __name__ == '__main__':
    img_path_list = '../images/infer.txt'
    result_data_path = '../images/infer.res'
    save_path = '../images/result'
    show(img_path_list, result_data_path, save_path)
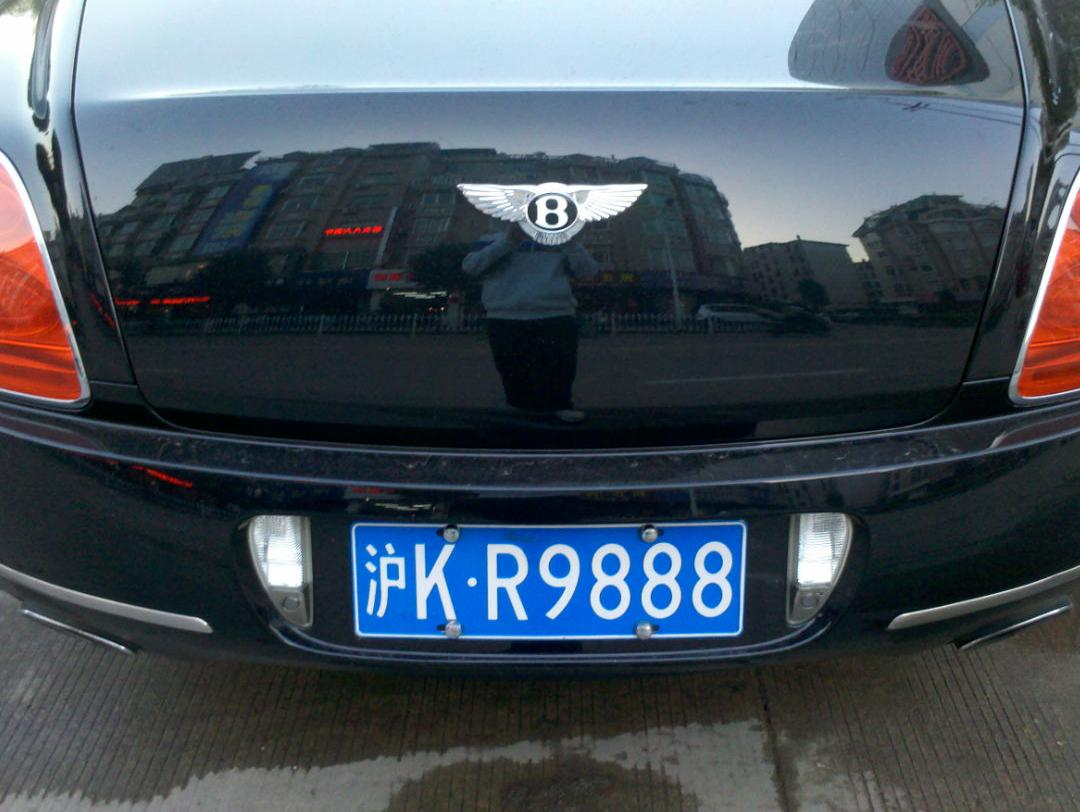
Before prediction:
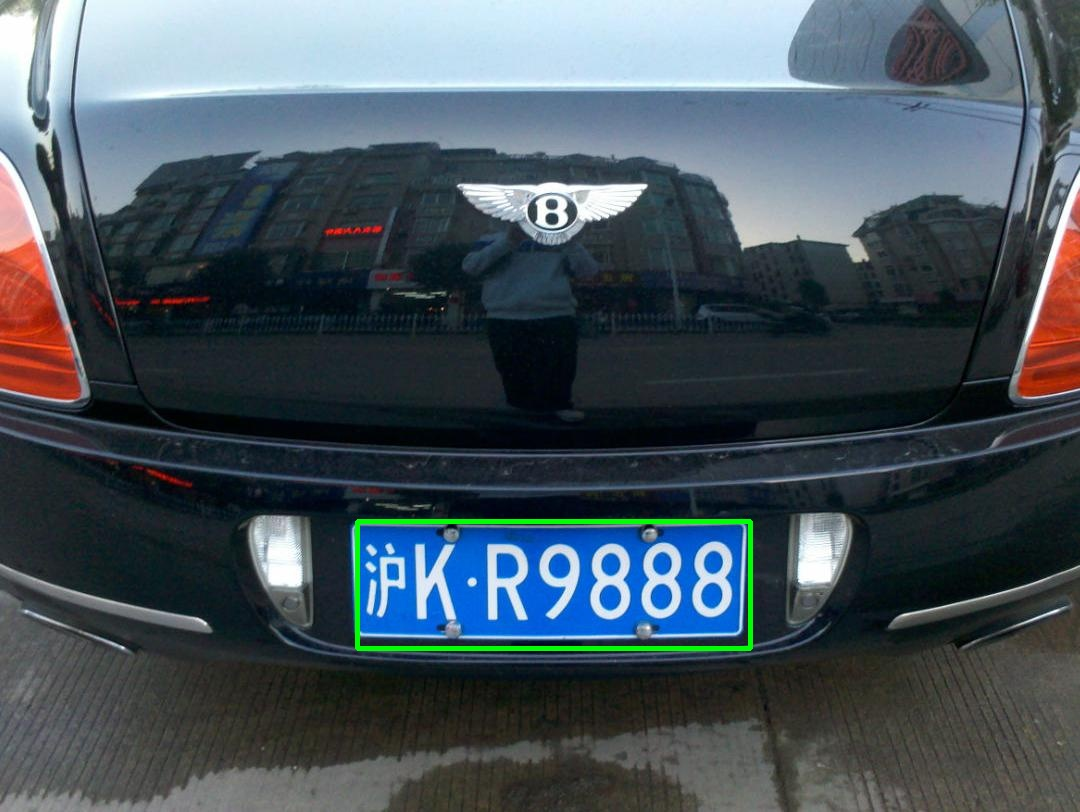
After prediction:
Previous chapter: Notes on My PaddlePaddle Learning - Part 9: Object Detection Using VOC Dataset
Next chapter: Notes on My PaddlePaddle Learning - Part 11: Using the New Fluid Version
Project Code
GitHub: https://github.com/yeyupiaoling/LearnPaddle
References
- http://paddlepaddle.org/
- https://github.com/tzutalin/labelImg